Introduction
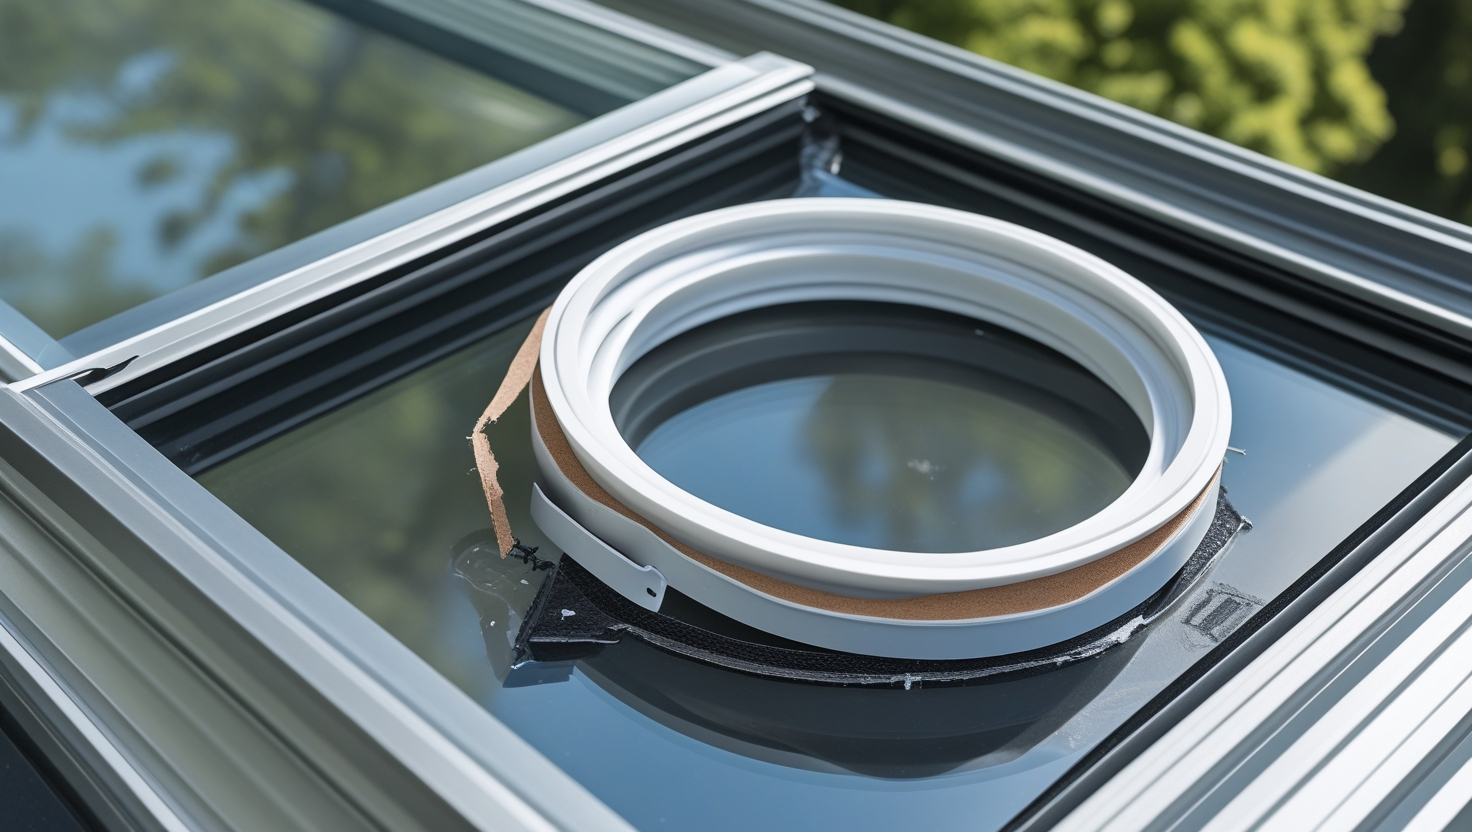
Tubular skylights or solar tubes allow natural light into homes while minimizing energy bills. Owners love using Loomis solar tube gasket replacement 63mm x 57mm because they last a long time and are efficient. However, the appliance, like any other home part, needs maintenance occasionally. The device that requires targeting in many cases is the seal. This article is a guide on replacing a Loomis solar tube gasket replacement 63mm x 57mm, detailing each procedure.
Reasons why the seal should be changed
The seal is an integral part of your solar tube. It creates a barrier that prevents these incidents, allowing the tube to perform its function as usual. Periodically, a gasket can become damaged due to wear, cracking, or loss of elasticity due to its constant exposure to the elements.
Signs you need a new gasket
- Leaks: Some cases of moisture appear around the solar tube.
- Condensation: Formation of moisture on the inner wall of pipes.
- Visible damage: Inadequate or thin gasket surfaces, cracked gaskets, separation or tearing of gasket material.
- Reduced efficiency: Reduced level of light passing through the glass.
If you encounter any of these problems, it’s high time you decided to replace your Loomis solar tube gasket replacement 63mm x 57mm.
Necessary tools and materials
Before starting the replacement process, gather the following tools and materials to make your job easier:
- The replacement seal has an outer diameter of Loomis solar tube gasket replacement 63mm x 57mm.
- Screwdriver (dismantle if necessary)
- A clean cloth
- Silicone lubricant
- Measuring tape
- Ladder (if the solar tube is suspended at a certain height)

Step-by-Step Guide to Replacing the Gasket
1. Prioritize safety
Great care must be taken before employees engage in a particular task to ensure that the workplace is protected for them. However, exposing the TenusuN solar tube to the sun for many hours will shorten its “lifetime.” If your solar tube is mounted on a ceiling or roof, please ensure that you follow the following precautions when mounting it on the roof of your house Or climbing a tree.
2. Check the solar tube
Before removing the gasket, you should carefully examine the entire system to see any signs of leakage. Also, check for a new problem with a crack in the tube or dirty deposits on the inside.
3. Remove the old gasket
The gasket must be removed carefully to avoid damaging the head. Depending on the model, it may be necessary to unscrew some pipe parts. Carefully remove the gasket; if it sticks to the surface, remove it with a spatula.
4. Clean the sealing area
Wash the area occupied by the seal with a clean piece of cloth. This will ensure that there is no dust, loose material, or components of adhesive residue that would interfere with or prevent the proper installation of the new gasket.
5. Apply silicone lubricant
To facilitate assembly, it is enough to lightly lubricate the place where the new seal will be installed with silicone grease. Combined with the four types of gaskets mentioned above, this step also reduces gasket damage during installation.
6. Install a new gasket
Now, gently place the Loomis solar tube gasket replacement 63mm x 57mm in the indicated area. Press it firmly to the surface so there are no gaps or holes between them.
7. Reassemble the tube
If you had to remove a component, reattach it. Screw each connector on tightly, being very careful to avoid over-tightening, which can damage the tube or gasket.
8. Test the installation
Blow air with a fan so that the water droplets created by the garden hose imitate rain. Depending on the model, check for leaks or moisture to ensure the seal is firmly in place.
Benefits of Replacing the Gasket
- Prevents leaks: The new seal eliminates water ingress into the system, preventing water and steam from leaking.
- Increases performance: Replacing the gasket will allow the system to offer the best performance, making the solar tube always work efficiently.
- Extends life: With damping services on its rod, the roller reduces pressure, reducing the likelihood of faster degradation of other components.
- Sealing saves money: It also helps ensure signs don’t flood, incur high repair costs, or suffer other consequences of poor maintenance.

Caring for your Loomis solar tube emits light when needed
Frequent maintenance is recommended to maximize the life of your chosen solar tube and reduce the likelihood of calling a professional technician for help. Here are some practical tips to keep your system in top condition:
1. Frequent checks
Regularly check the solar tube for dust, damage, or wear to maintain its comfort. Run your hand around the inside and outside of the pipe for signs of a crack, dirt, or sealing problem.
2. Clean the tube
Turbidity and dirt could obstruct light passage and affect the tube’s use. Wear protective gloves and preferably dampen a microfiber cloth with mild soap to clean the surface. Ensure no toxic chemical soap or bleach comes into contact with the material. A long bar or cleaning rod may be helpful when you’re cleaning hard-to-reach areas.
3. Check the condition of the seals
For example, the gasket requires loomis solar tube gasket replacement 63mm x 57mm after half a year of operation or should at least be checked for wear. The seal is critical to ensure no leaks, so it should be replaced before it wears out completely to prevent so much water loss.
4. Replace as needed
At the very least, you should replace the gaskets regularly, and the optimal frequency is several years, regardless of whether there are any problems or signs of gasket damage. Some dirt or gasket wear can affect the performance of the solar tube system, so use the Loomis solar tube gasket replacement 63mm x 57mm if necessary.
5. Ensure proper sealing
This gasket should be tightly sealed after a strong wind or storm, and the solar tube should be checked occasionally. Adverse weather conditions expose such parts to some wear and tear, which can lead to leakage during rain. This assessment helps ensure that seals are always tight to ensure safety.
Troubleshooting common problems
1. Leaks Persist After Loomis solar tube gasket replacement 63mm x 57mm
If you find leaks after replacing the gasket, contact a professional to check all parts’ proper alignment and tightness. If necessary, think about sealing other parts of the machine as well.
2. Condensation inside the pipe
If condensation constantly forms on the outer surface, there may be a problem with the seal. Carry out a safe inspection of the gasket assembly, and it is advisable to inspect other parts for signs of cracking.
3. Reduced light transmission
Cleaning the CNN Lens: If the tube does not emit the correct light, it means it has been blocked; check for obstructions. In addition, look at the arrangement of the tube so that it is oriented to receive as much sunlight as possible.
4. Recurring sealing problems
When the gasket wears frequently, look for extreme temperature changes or poor-quality gasket replacement. When choosing a gasket, be sure to use the original Loomis solar tube gasket replacement 63mm x 57mm.

Conclusion
Loomis solar tube gasket replacement 63mm x 57mm keeps your solar tube well, and replacement is a necessary maintenance. In this article, I will explain how to repair a damaged solar tube and avoid problems such as leaks and condensation if you follow these steps: To get the most out of your solar tube, you should ensure that it is inspected and maintained. Be sure to provide natural light still; it should be in the comfort of your home for years to come. Another benefit is preserving your investment while ensuring your solar tube system runs as efficiently as possible to keep your home lit and use minimal energy.
FAQs
1. When should the gasket be replaced?
It must be replaced after an average of 3 to 5 years, but extreme weather conditions can lead to premature seal wear. Routine evaluation allows the individual to know when replacement is necessary.
2. Would it be better if I didn’t ask a mechanic to install a new seal?
Yes, the process is quite simple, and any homeowner can afford to fix it. That’s right, it’s as easy as following the steps above.
3. If the seal is damaged, what if it is not replaced?
Old gaskets create cracks and gaps that can cause leaks, condensation, and reduced efficiency, damaging the surrounding structure.
4. Is the Loomis solar tube gasket replacement 63mm x 57mm?
This size is for specific models only. It is recommended that you check specific product specifications for compatibility.
5. What are the basic tools to use to loomis solar tube gasket replacement 63mm x 57mm?
Some tools are a screwdriver, a clean cloth, silicone grease, and a ladder.
6. Is there any lubricant I should not use when installing powder paint?
Silicone-based grease is preferred as it will not damage the seal and should help ensure a good seal.